Discover the tasty world of mochi waffles with a fun twist!
They can be made with any mochi flour, and the waffles come out light and fluffy with a slightly chewy texture.
You can top them with whatever you like, but we think they’re perfect with some softened butter, syrup, and a sprinkle of powdered sugar.
If you’ve never had mochi before, it’s a type of rice flour that’s made from glutinous rice.
It has a slightly sweet flavor and a chewy texture.
Mochi waffles are becoming a popular breakfast treat in Japan, and we think they will be your new favorite way to enjoy mochi!
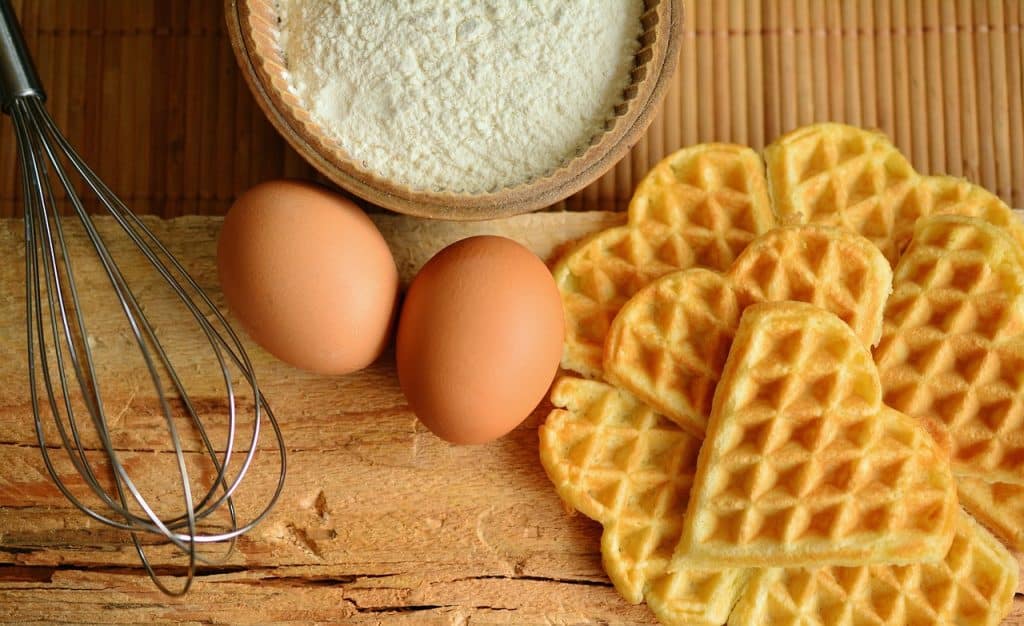
Ingredients:
Mochi Flour: This ingredient is key to making light and fluffy mochi waffles!
You can find mochi flour at most Asian grocery stores, or you can order it online.
Waffle Mix: We prefer a Japanese-style waffle mix for these waffles, but you can use any waffle mix you like.
Eggs: You’ll need two eggs for this recipe.
All-purpose flour: This is for dusting the waffle iron.
Baking powder: This will help the waffles to rise and be nice and fluffy.
Salt: A little bit of salt is always a good idea in baking!
Milk: You can use any milk for this recipe; we prefer to use whole milk.
Water: You’ll need 1/2 cup of water for this recipe.
Butter: We like to use unsalted butter, but you can use whatever type of butter you have on hand.
Syrup: Any syrup will work for this recipe. We like to use maple syrup or honey.
Powdered Sugar: This is optional, but we think it adds a nice touch!
Ingredient Measurement:
- 1 cup mochi flour
- 1/2 cup all-purpose flour
- 1 teaspoon baking powder
- 1/4 teaspoon salt
- 2 eggs
- 1 cup milk
- 3 tablespoons butter, melted and cooled
- Syrup, softened butter, and powdered sugar, for serving
Instructions:
1. Preheat your waffle iron to medium heat.
2. In a large bowl, whisk together the mochi flour, all-purpose flour, baking powder, and salt.
3. In another bowl, whisk together the eggs and milk. Add the melted butter and whisk until everything is combined.
4. Add the wet ingredients to the dry ingredients and whisk until everything is combined.
5. Spray your waffle iron with cooking spray. Scoop 1/4 cup of batter into the waffle iron and spread it out with a spatula. Cook for 2-3 minutes or until the waffle is golden brown.
6. Serve the waffles with syrup, softened butter, and powdered sugar. Enjoy!
Mochi waffles are the perfect breakfast treat for anyone who loves Japanese food!
They’re light and fluffy, with a slightly chewy texture, and they’re delicious with syrup, butter, and powdered sugar.
Notes:
If you can’t find mochi flour, you can use glutinous rice flour or sweet rice flour.
You can find Japanese-style waffle mix at most Asian grocery stores, or you can order it online.
If you don’t have a waffle iron, you can make these waffles on a pancake griddle.
Just scoop 1/4 cup of batter into the griddle and spread it out into a 4-inch circle.
Cook for 2-3 minutes or until the waffle is golden brown.
These waffles are best served fresh, but you can store them in an airtight container and reheat them in the toaster or microwave.
Health benefits:
Mochi waffles are a good source of carbohydrates and protein, and they’re also low in fat.
However, they do contain gluten, so they’re not suitable for people with celiac disease or gluten intolerance.
If you’re looking for a healthier option, you can substitute the all-purpose flour for whole wheat flour and use non-fat milk instead of whole milk.
You can also omit the butter and use a non-stick cooking spray.
These waffles are a fun and easy way to enjoy mochi, and they’re perfect for breakfast or as a snack!
So what are you waiting for? Give them a try today!
Nutrition Facts: Serving size: 1 waffle
- Calories: 210
- Fat: 9 g
- Saturated fat: 3.5 g
- Unsaturated fat: 0 g
- Trans fat: 0 g
- Cholesterol: 70 mg
- Sodium: 410 mg
- Potassium: 0 mg
- Carbohydrates: 27 g
- Fiber: 1 g
- Sugar: 6 g
- Protein: 5 g
- Vitamin A: 4%
- Vitamin C: 0%
- Calcium: 8%
- Iron: 10%
Mochi waffles are a fun and easy way to enjoy mochi and make a great breakfast or snack!
They’re low in fat and calories and a good source of carbohydrates and protein.
Give them a try today!
Recipe Variations
- Matcha Mochi Waffles: Add 1 teaspoon of matcha powder to the mochi flour mixture.
- Chocolate Mochi Waffles: Add 1/4 cup of cocoa powder to the mochi flour mixture.
- Strawberry Mochi Waffles: Add 1/2 cup of chopped strawberries to the batter.
- Raspberry Mochi Waffles: Add 1/2 cup of raspberries to the batter.
- Blueberry Mochi Waffles: Add 1/2 cup of blueberries to the batter.
- Peach Mochi Waffles: Add 1/2 cup of chopped peaches to the batter.
Did You Know?
Mochi is a traditional Japanese rice cake that’s made from steamed and pounded glutinous rice.
It has a chewy texture and is often used in Japanese sweets and desserts.
Mochi waffles are a popular variation of traditional mochi rice cakes, and they’re made with mochi flour, which is a type of glutinous rice flour.
Mochi waffles are a fun and easy way to enjoy mochi, and they make a great breakfast or snack!
Storage Instructions
There are mainly 3 ways to store mochi waffles.
1. If you want to serve them immediately, then preheat the oven to 350°F (180°C) and place the waffles on a baking sheet. Cover with foil and heat for about 10 minutes, or until warmed through.
2. If you want to store them for later, place the cooled waffles in an airtight container and refrigerate for up to 3 days. Reheat in the oven or microwave before serving.
3. You can also freeze the waffles for up to 3 months. Thaw in the refrigerator overnight and reheat in the oven or microwave before serving.
When storing mochi waffles, be sure to place them in a single layer so that they don’t stick together.
To reheat, place the frozen waffles in a toaster or microwave and heat until warmed through.
Mochi waffles are best enjoyed fresh, but you can store them in an airtight container and reheat them in the toaster or microwave.
Make sure to allow enough time for the waffles to cool completely before storing them; otherwise, they will become soggy.
Conclusion
Thanks for our Ultimate Guide to Making Mochi Waffles!
We hope you give them a try and let us know what you think.
Do you have any tips or suggestions?
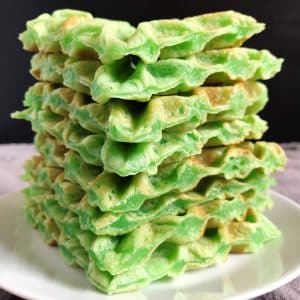
The Ultimate Guide To Making Mochi Waffles
Equipment
- 2 bowl
Ingredients
- 1 cup mochi flour
- 1/2 cup purpose flour
- 1 teaspoon baking powder
- 1/4 teaspoon salt
- 2 eggs
- 1 cup milk
- 3 tablespoons butter melted and cooled
- Syrup softened butter, and powdered sugar, for serving
Instructions
- Preheat your waffle iron to medium heat.
- In a large bowl, whisk together the mochi flour, all-purpose flour, baking powder, and salt.
- In another bowl, whisk together the eggs and milk. Add the melted butter and whisk until everything is combined.
- Add the wet ingredients to the dry ingredients and whisk until everything is combined.
- Spray your waffle iron with cooking spray. Scoop 1/4 cup of batter into the waffle iron and spread it out with a spatula. Cook for 2-3 minutes or until the waffle is golden brown.
- Serve the waffles with syrup, softened butter, and powdered sugar. Enjoy!
Video
Nutrition
- 25 Easy Cool Whip Recipes - May 7, 2025
- 25 Easy Italian Breakfast Recipes - May 7, 2025
- 25 Homemade Keto Crockpot Recipes - May 7, 2025
