- How to Make Ramen in the Microwave - July 1, 2025
- El Torito Corn Cake Recipe - July 1, 2025
- Air Fryer Frozen Fish Fillets No Breading - July 1, 2025
Ice cream turns the cloudiest day into sunshine, bringing smiles and instantly lifting spirits.
When temperatures start to rise, nothing hits the spot quite like a scoop of ice cream.
Besides, it comes in thousands of flavors, so there is something for everybody.
Letting a spoonful of smooth, sweet ice cream melt in your mouth is terrific—but the satisfaction of making it from scratch makes the experience transcendent.
Transforming sugar and cream into a delicious ice cream might seem tiresome but you can make a rich, bend-your-spoon thick ice cream within minutes.
There are numerous methods you can use to make ice cream.
However, one method that has proved to produce the creamiest, softest, and most delicious ice cream is use of a nostalgia ice cream maker.
You can use it to make thousands of different varieties of ice cream at the touch of a button.
Thanks to its motor that allows for correct mixing and chilling, making the preparation techniques simple.
In this guide, we discuss various nostalgia ice cream maker recipes.
We give you ingredients, preparation methods, vital tips you need to have in mind when preparing, then finalize by answering frequently asked questions regarding these recipes.
Nostalgia Ice Cream Maker recipes
Classic Ice Cream Recipe
There are a lot of recipes on how to make classic ice cream.
Nonetheless, making it using nostalgia cream maker recipes is the best as it saves you time and gives mouth-watering results.
Follow the recipe below to obtain creamy and thick results.
Ingredients
●3 cups milk
●2 cups heavy cream of choice)
●2 cups sugar
●2 tsp. vanilla extract
●10 Pieces Chocolate biscuits
●3 cups salt
●Ice cubes and crushed ice
●2 eggs (mixed in a bowl)
Instructions
Step 1: In a food mixer, blend milk and heavy cream to make a creamy mixture.
When mixing, add half of the sugar and some crushed ice to enhance the chilling process of the cream.
Step 2: When the cream mixture gets smooth, add the mixed eggs, blend and refrigerate for an hour.
Step 3: Prepare the nostalgia maker.
Pour the ice cream mixture into the canister and add sugar and salt.
Step 4: Place the canister in a nostalgia machine container keeping spaces for the ice cubes around it.
Pour in ice on all sides of the container so that it can cool the canister perfectly and mix.
Step 5: Add in extra ice and salt from time to time to maintain the perfect flavor.
Step 6: Garnish the upper part of the ice cream with the crushed chocolate biscuit and serve.
Oreo Biscuits Ice Cream
This is one of the best nostalgia ice cream maker recipes that will get your taste buds racing.
Even though this ice cream doesn’t contain eggs, it is very creamy and rich.
It’s simple as it requires only 5 ingredients and takes 20 minutes.
Ingredients
●1 cup Oreo cookies (coarsely chopped)
●1 cup Whole milk
●2 teaspoons Vanilla extract
●3/4 cup Granulated sugar
●2 cups Heavy cream
Instructions
Step 1: In a bowl, mix heavy cream and vanilla extract.
Step 2: Whisk milk and sugar and pour the mix into the bowl with vanilla extract and heavy cream.
Step 2: Prepare a Nostalgia ice cream maker.
Pour the mixture into the machine and churn it for 20 minutes.
Step 3: Into the mixture, add Oreo biscuits.
Churn until the mixture is thick, creamy, and frozen.
Read the manufacturer’s instructions to learn more about ice cream making time.
Step 4: Use a rubber spatula to transfer the ice cream to a freezer-safe airtight container.
Refrigerate the ice cream for about 2 hours to set up firmly.
Strawberry Ice Cream
Strawberry ice cream is one of the best ice cream if you’re looking for a tasty and nostalgic cold treat.
It’s creamy and delicious, especially when made with sweet strawberries while they’re in season.
This ice cream is perfect on its own or as an accompaniment dessert.
Ingredients
●Fresh Strawberries
●2 cups Sugar
●4 large pasteurized eggs
●4 cups heavy whipped cream
●2 cups milk
●3 tsp. Watkins Vanilla
●Salt and ice
Instructions
Step 1: Clean fresh strawberries and chop them 2 hours before making your ice cream.
Step 2: Combine strawberries and ½ cup sugar, then refrigerate for two hours.
Puree the strawberry mixture after two hours in a blender.
Place aside.
Step 3: Mix the remaining sugar and pasteurized eggs in a large mixing bowl, add milk, Watkins Vanilla, and heavy cream.
Combine well and add into the strawberry mixture, then whip.
Step 3: Put the mixture into your nostalgia ice cream maker.
Fill the ice cream maker to about 2/3 – ¾ because the ice cream will not expand if you overfill.
Step 4: Layer the ice and salt along the rim of the ice cream maker.
Fill to the top of the barrel and start.
Step 5: Add more ice and rock salt when the ice melts.
Step 6: Put the ice cream in a lidded container and place it in the freezer.
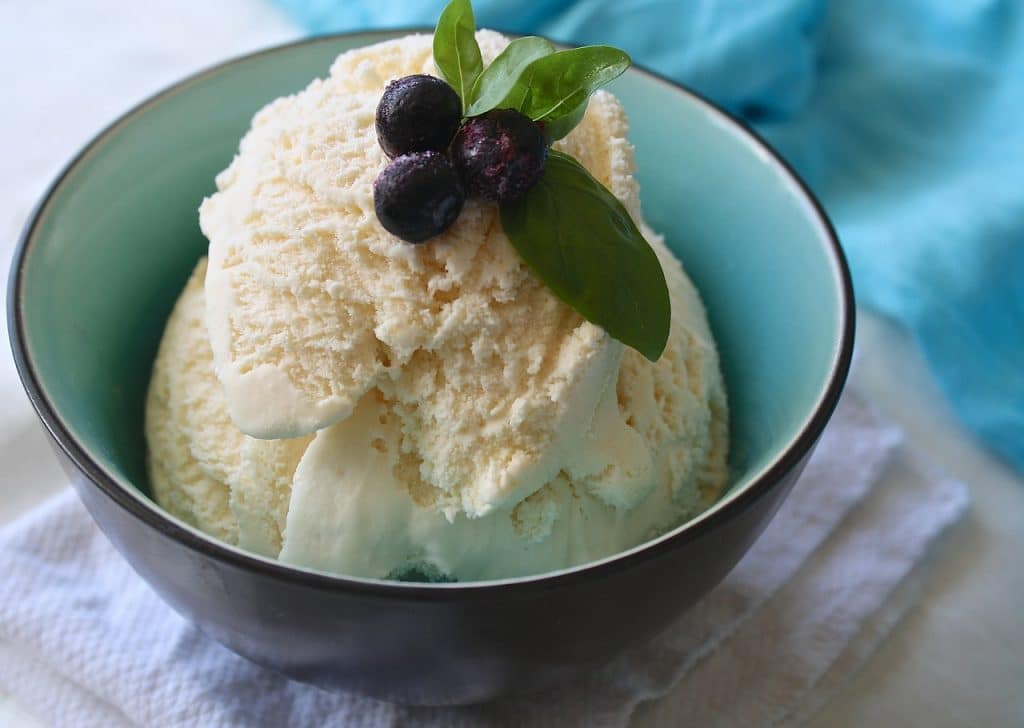
Vanilla Ice Cream
We don’t mean to brag, but this vanilla ice cream made using nostalgia ice cream maker might be the best you’ve ever tasted.
With only five ingredients and three steps, it might be the easiest, too.
It’s a customizable treat that you can enjoy on its own or with a host of toppings.
Ingredients
●1 cup Whole milk
●1 teaspoon vanilla extract
●2 cups Heavy cream
●2 Large Eggs
●3/4 cup sugar
Instructions
Step 1: Beat the eggs with an electric mixer until light and foamy (about 1 minute).
Slowly add sugar and continue to mix until well combined.
Step 2: Into a blender, pour cream, vanilla, and milk, then mix.
Prepare a Nostalgia ice cream maker, pour this mixture into the machine, and churn.
Step 3: Transfer the ice cream to a freezer friendly container and freeze for about 6 hours.
Helpful Tips When Using Nostalgia Ice Cream Recipes
●To reduce the ice cream-making process, use a well-chilled base and refrigerate the custard to 40 F.
●Don’t overfill the ice cream maker’s canister as this will affect the expansion of the ice cream.
●Your ice cream won’t become frozen-solid when removing it from the ice cream maker.
For a firmer texture, place it in the freezer for 2 hours or more depending on your preference.
How to Store Your Ice Cream
Ice cream is a treat you can enjoy all year round, but it’s also a fickle one that can quickly melt if you store it improperly.
After preparing your ice cream using a nostalgic ice cream maker, scoop it into an airtight container and place it on the furthest end of your freezer.
Do not store it in the freezer door; it will be exposed to fluctuating temperatures since the door is repeatedly open and shut, leading to it melting.
Best machine for nostalgia ice cream maker recipes
There is no one size fits all nostalgia ice cream maker.
When choosing one, consider the quantity of ice cream you intend to make.
For example, for commercial use, choose the 4-Quart Wood Bucket Ice Cream Maker as it is a more powerful motor.
Different kinds of nostalgia ice cream makers you can buy from nostalgia’s online store include:
• 1-Pint Electric Ice Cream Maker
• 4-Quart Wood Bucket Ice Cream Maker
• 6-Quart Wood Bucket Electric Ice Cream Maker
• 4-Quart Double Flavor Ice Cream Maker
The above ice cream makers are easy to clean, light to carry, are equipped with powerful electric motors, and have see-through lids, making them very user-friendly.
Frequently Asked Questions on Nostalgia Ice Cream Maker Recipes
Can I use regular salt instead of rock salt?
Yes.
You can use regular salt instead of rock salt when using nostalgia ice cream maker recipes.
However, for better freezing, it is advisable to use rock salt.
Why isn’t my ice cream thickening in the nostalgia ice cream maker?
Most probably it is because the canister is not cold enough.
Try adding rock salt and ice but next time, place the canister into the freezer the day before making your ice cream to ensure it is cold enough.
How long does it take to make ice cream in a nostalgia machine?
The time it takes to prepare your ice cream varies depending on the ingredients and their quantities.
However, your ice cream should be ready in 20-30 minutes.
Does nostalgia ice cream maker stop on its own?
Yes.
Nostalgia ice cream maker stops on its own when your ice cream is ready.
The result will be a soft, rich, and smooth ice cream – serve as is, or chill in the freezer for a few hours to firm and harden.
Bottom-Line
Churning your ice cream isn’t that hard, and investing in a nostalgia machine will give you consistently delicious results.
If you are an ice cream enthusiast, the above nostalgia ice cream maker recipes will satisfy your cravings to the fullest.
You can serve them after any meal as a dessert or on hot summer days to enjoy their freezing flavor in every single bite.
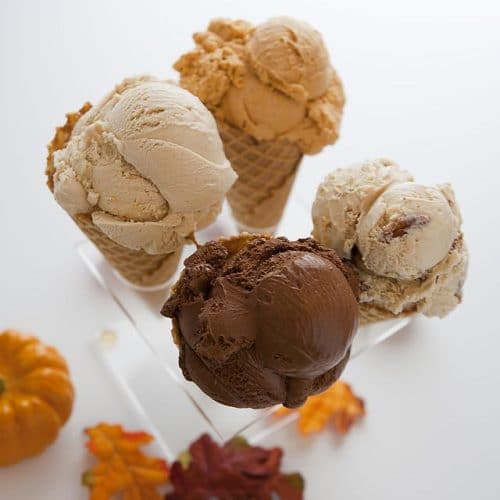
Must-Try Nostalgia Ice Cream Maker Recipes
Ingredients
- 3 cups milk
- 2 cups heavy cream
- 2 cups sugar
- 2 tsp. vanilla
- 10 Pieces Chocolate biscuits
- 3 cups salt
- cubes Ice
- 2 eggs
Instructions
- In a food mixer, blend milk and heavy cream to make a creamy mixture.
- When mixing, add half of the sugar and some crushed ice to enhance the chilling process of the cream.
- When the cream mixture gets smooth, add the mixed eggs, blend and refrigerate for an hour.
- Prepare the nostalgia maker.
- Pour the ice cream mixture into the canister and add sugar and salt.
- Place the canister in a nostalgia machine container keeping spaces for the ice cubes around it.
- Pour in ice on all sides of the container so that it can cool the canister perfectly and mix.
- Add in extra ice and salt from time to time to maintain the perfect flavor.
- Garnish the upper part of the ice cream with the crushed chocolate biscuit and serve.
