- How to Make Ramen in the Microwave - December 29, 2025
- Slow Cooker Potatoes Recipe - December 29, 2025
- How to Cook Sweet Potatoes in Microwave - December 29, 2025
Meet the under-cabinet toaster that stole the spotlight in 2020 and see why it left others in the dust. This little kitchen champ cleared up loads of counter clutter and fired up breakfast fast, turning chaotic mornings into smooth sailing. Imagine a tidy kitchen where this slim tool slides right in, popping out quick, even toast without any mess or hassle. For anyone chasing easy breakfast wins, this 2020 hit brings smarter cooking and happier mornings. Discover what made this toaster a total game-changer and how it can light up daily routines like pure magic. Keep reading to see why it’s the real deal you don’t want to miss.
Except that I’m not.
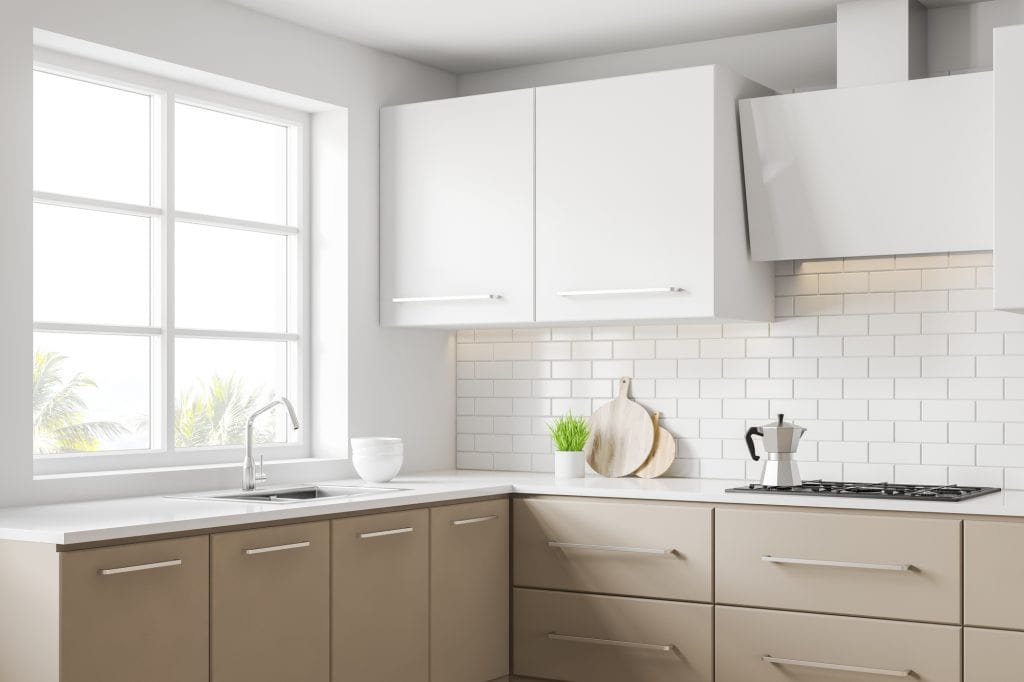
I know many people ask for this, and I can understand: you want a toaster oven, but you have a small kitchen, or you have limited counter space, or it’s all taken up by the microwave, blender, coffee machine, toaster and dish rack, and you just can’t stand the thought of another appliance taking up residence there.
Or you just want that clean kitchen look.

So you look for ways to mount the toaster oven on the wall under you kitchen cabinet.
But don’t reach for your wallet just yet. There are two things I want to tell you.
First: Under Cabinet Toaster Ovens Might not be a Good Idea
If you have ever used a toaster oven, you should know one thing about them: they get hot. Sometimes, very hot. In the majority of toaster oven manuals the manufacturer explicitly says not to put anything on top of a toaster oven and leave ample space above.
I’ve seen and heard horror stories of cabinets melting and even small fires (depending on the toaster oven).
Second: There are not That Many Options Out There
There is only one toaster oven that’s specifically built for this purpose, but it has its draw backs and is often out of stock. But there’s a much better alternative: mounting a regular toaster oven on a microwave wall-mount.
Best Choice: a Wall Mount
Yes, your best under cabinet toaster oven is still a regular toaster oven — but with an all-purpose microwave wall-mount.
No products found.
The installation is straight forward and you have a plethora of options of appliances: check my toaster oven buying guide.
…and a De’Longhi
There is one that I can specifically recommend — it’s the De’Longhi EO141164M. It’s a pretty good toaster oven all around, and the main reason I single it out is it has proper double glass and heat insulation like that of a wall oven, which is rare for a toaster oven. This is the most fire-safe choice. Plus, it’s an air fryer, if a mediocre one, and it’s pretty compact.
No products found.
…or a Panasonic
Another option that you can couple with the wall mount is the infra-red Panasonic FlashXpress. It’s one of the quickest-cooking ones due to infrared preheating, one of the best compact toaster ovens since 2017, and does not get too hot.
No products found.
Alternative: Black&Decker Spacemaker TROS1000D
The other option is the Black&Decker Spacemaker.
It’s a pretty good toaster oven all around: fits four slices of bread or a 9 inch pizza, for example Delicious West Bend Bread can be cooked by this machine. with their signature stainless steel and black plastic exterior, digital controls and LCD display. It’s also pretty compact: 9 inches high, 17 inches wide and 13 inches deep.
Other features include a drop-down crumb tray (makes sense for a hanging appliance) and a limited 2-year warranty.
No products found.
It does have its draw backs though: the installation of the plate is NOT easy. If you’re used to IKEA furniture-style installation, prepare for a hard time. Plus, there is very little space under the top heating element, so people often burn their food. Oh, and don’t mount it over a stove: it has plastic elements.
But the biggest problem yet is that it’s often out of stock (still out of stock at the moment of writing).
Conclusion
I feel you, I really do. I want to be minimalistic and efficient. But mounting a toaster oven under your cabinet can be a huge fire hazard, so make your choice wisely: try the microwave wall mount coupled with a well-insulated toaster oven, or get a Black&Spacemaker if you catch one in stock.
Cheers,
G.

West bend bread maker recipes
Equipment
Ingredients
- 2 cups all-purpose flour
- 3 tbsp. margarine
- 2 eggs
- 5 ounces milk
- 3 tbsp sugar
- 1 teaspoon salt
- 1 tbsp Dry yeast
- ½ cup nuts chopped
- 2 teaspoon cinnamon grounded
- ½ tbsp nutmeg grounded
- ¼ cup sugar
- ¼ cup butter
- 1 cup sugar powder
- 3 tablespoons milk
- 1 teaspoon vanilla essence
Instructions
- Preheat the oven to 3800F
- Add butter, milk, and eggs to a pan.
- Add sifted flour, 3 tbsp. sugar and salt to the pan/ Whisk until the mixture combine well.
- In the center of the pan, add dry yeast. Place the pan in the west bend bread maker.
- Set bread select for dough, and start the west bend bread maker. Remove when done and knead the dough on a flat surface for about 2 minutes. Let it rest for 20 minutes.
- Roll the dough into a rectangular to your desired thickness.
- Spread the melted margarine over the dough, focusing on the edges. Evenly sprinkle sugar, cinnamon, chopped nutmeg, and nuts over the dough.
- Roll the dough tightly, pressing the edges to seal and form an evenly shaped roll. Cut into tiny pieces as desired.
- Grease a baking pan and slide in the rolls. Cover and let it rise in a warm place for about 45 minutes.
- Meanwhile, prepare the icing by blending the powdered sugar, milk, and vanilla until smooth with the desired consistency.
- Bake in the oven for 25 to 30 minutes, or until it turns golden brown. Cool on a rack for 20 minutes and drizzle with the powdered icing.