- How to Make Ramen in the Microwave - December 29, 2025
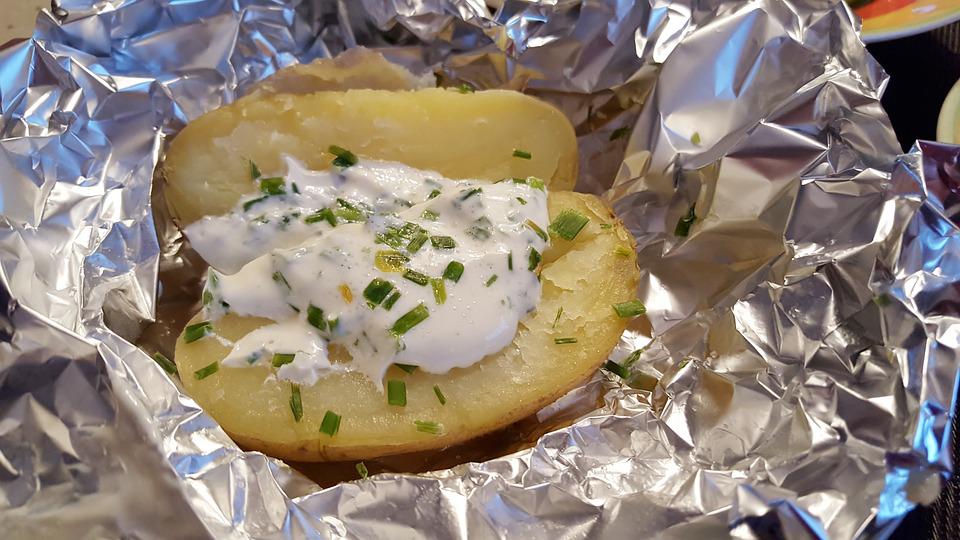
- Slow Cooker Potatoes Recipe - December 29, 2025
- How to Cook Sweet Potatoes in Microwave - December 29, 2025
Zaxby’s Chicken Fingers explode with flavor like fireworks lighting up the night sky on the Fourth of July. The outside delivers a perfect crunch, while the inside stays juicy and tender, seasoned with a secret blend of spices that snap just right. People who love bold flavors and filling snacks often say these chicken fingers top the charts across the South, especially with dipping sauces that bring a serious kick. Picture biting into golden, juicy chicken that hits every craving and sparks your curiosity about the secret behind the taste. This snack grabs your attention and can quickly become your favorite because once you taste it, you’ll understand why it steals the spotlight. Keep reading to discover what makes this Southern favorite so irresistible.
Where have you been?
Let’s face it; over the past few decades, chicken has become one of the most consumed protein sources globally.
Its popularity results from being a nutritious and relatively inexpensive food source.
It’s also versatile, allowing for numerous products which meet the needs of today’s world-changing lifestyle.
There are numerous places to consider when you’re craving some tasty chicken.
However, if you’ve not tried Zaxby’s delectable chicken fingers, you’re missing out!
Zaxby’s has been home to freshly made and tasty chicken fingers, salad, sandwiches, and chicken wings for years.
It also prides itself in producing signature sauces that are perfect for dunking.
One of the most popular foods at Zaxby’s delectable chicken fingers.
They are juicy crispy, and the combination of crumbs in the coating creates the perfect crispy texture and wonderful flavor.
No doubt, these mouthwatering chicken fingers will give your taste buds what they demand – fast.
Zaxby’s restaurant chicken fingers are excellent, but making them from scratch will give you a priceless transcendent experience.
This article discusses how you can make Zaxbys chicken fingers from your home.
It looks at the ingredients, preparation methods, essential preparation modifications, storage, and reheating tips and concludes with frequently asked questions about these chicken fingers.
Zaxbys Chicken Finger Recipe
Recipe Summary
Cuisine: American
Cuisine type: Snacks
Servings: 4 Servings
Preparation time: 20 Minutes
Cooking time: 20 Minutes
Total time: 40 Minutes
Ingredients
●½ Italian seasoning
●1/3 cup low-fat buttermilk
●1 cup crushed cornflakes
●1 egg
●¼ tsp. salt
●¼ all-purpose flour
●¼ tsp. freshly ground pepper
●1 cup unseasoned bread crumbs
●1½ cup skinless and boneless chicken breast
●Salt
Directions
Step 1: Cut the chicken breast into half-inch pieces
Step 2: Preheat the oven to 400 F
Step 3: Place buttermilk and chicken into a dish, cover it and chill it in the refrigerator for 15 minutes.
Step 4: Spray a baking sheet with non-stick cooking spray
Step 5: In a separate bowl, mix bread crumbs, salt, cornflakes, and pepper and set the mixture aside.
Step 6: Beat eggs in a separate bowl
Step 7: Place the flour on a plate.
Step 8: Take the chicken pieces and cover them with the flour
Step 9: Deep the chicken fingers in the egg and cover them with cornflakes and bread crumbs mixture.
Step 10: Arrange the chicken fingers on a baking tray
Step 11: Bake for about 8 minutes. Let it cool for a crispier exterior.
Nutrition Information
Calories: 100
Carbohydrates: 3g
Protein: 11g
Sodium: 340mg
Fat: 5g
Fiber: 1g
Cholesterol: 30mg
Zaxbys Chicken Fingers Dipping Sauce
This sauce is a perfect addition to your Zaxbys chicken which your family and friends will love.
Every bite is full of flavors that will leave them asking for more.
To prepare this finger licking sauce, follow the recipe below.
Recipe Summary
Categories: Side Dish
Total time: 2h 10m
Yield: 6 servings
Ingredients
●½ teaspoon garlic powder
●½ cup mayonnaise
●½ teaspoon freshly ground black pepper or more based on your preference
●¼ cup ketchup
●¼ teaspoon Worcestershire sauce
Instructions
Step 1: Whisk garlic powder, mayonnaise, and ketchup in a bowl; add Worcestershire sauce to the mixture, then mix until smooth.
Step 2: Sprinkle black pepper on the mayonnaise mixture; stir to incorporate.
Step 3: Cover the bowl with plastic wrap and refrigerate until the seasonings have blended at least 2 hours into the sauce.
Nutrition Facts
Calories: 142.7
Carbohydrate: 3.4 g
Protein: 0.4 g
Sodium: 218 mg
Fat: 14.6 g
Cholesterol: 7 mg
Fiber: 0.1 g
Saturated fat: 2.2 g
Sugar: 2.6 g
Modifications When Preparing Zaxbys Chicken Fingers
● If you choose to air-Fry your chicken fingers instead of baking, bread the chicken and spray with cooking spray.
Preheat an air-fryer to 400F and cook for 5 minutes on all sides.
●To make more nutritious chicken fingers, use whole grain wheat flour and wholemeal panko bread crumbs.
●Use gluten-free flour blend and gluten-free panko breadcrumbs for gluten-free chicken fingers.
●If you have an egg allergy, dip your chicken strips into flour first and then moisten them with mustard or buttermilk for egg-free chicken fingers.
How to Reheat And Store Your Chicken Fingers
After preparation, refrigerate your Zaxbys chicken fingers within 2 hours using an airtight container, wrap tightly with plastic wrap or aluminum foil to prevent bacterial contamination.
Though the shelf-life of your cooked chicken fingers depends on your storage conditions, they should last for 1 to 2 days in the refrigerator.
To further extend the shelf life of your cooked chicken fingers to about three months, freeze them using heavy-duty aluminum foil, an airtight container, freezer wrap, or heavy-duty freezer bags.
Once you defrost your cooked chicken nuggets, keep them in the refrigerator for a maximum of two days before cooking.
To reheat your Zaxbys chicken fingers, place them on a baking sheet and bake them at 400F for 5-6 minutes to preserve the crispiness of the crust.
Do not reheat the chicken fingers in the microwave; the breading will become soggy.
To tell if your cooked chicken fingers are spoilt, smell them; discard them if they have an off smell.
Frequently Asked Questions on Zaxbys Chicken Fingers
Are Zaxbys chicken fingers keto-friendly?
Yes.
Zaxbys chicken fingers are keto-friendly since they are breaded and fried; they do not contain too many carbohydrates.
Are Zaxby’s chicken fingers gluten-free?
No.
Zaxbys chicken fingers are not gluten-free as they contain all-purpose flour and wheat bread crumbs.
Replace the all-purpose flour with gluten-free alternatives like buckwheat flour or panko bread crumbs to make gluten-free ones.
Does Zaxbys sauce need to be refrigerated?
Yes.
It would help if you refrigerated Zaxbys chicken fingers sauce for longer preservation.
The sauce should last at least two weeks in the fridge.
Bottom-Line
There you have it! We hope that this guide will serve you well and save you a few bucks from ordering the chicken fingers from Zaxby’s.
If you have some time to spare, follow the recipe closely, and you can savor this delicacy by the end of the day.
It’s simple, healthy, and it is a delicious alternative that you can enjoy from the comfort of your home.

Best Homemade Zaxby’s Chicken Fingers
Equipment
- 1 oven
Ingredients
- ½ Italian seasoning
- 1/3 cup low-fat buttermilk
- 1 cup crushed cornflakes
- 1 egg
- ¼ tsp. salt
- ¼ all-purpose flour
- ¼ tsp. freshly ground pepper
- 1 cup unseasoned bread crumbs
- ½ cup skinless and boneless chicken breast
- Salt
Instructions
- Cut the chicken breast into half-inch pieces
- Preheat the oven to 400 F
- Place buttermilk and chicken into a dish, cover it and chill it in the refrigerator for 15 minutes.
- Spray a baking sheet with non-stick cooking spray
- In a separate bowl, mix bread crumbs, salt, cornflakes, and pepper and set the mixture aside.
- Beat eggs in a separate bowl
- Place the flour on a plate.
- Take the chicken pieces and cover them with the flour
- Deep the chicken fingers in the egg and cover them with cornflakes and bread crumbs mixture.
- Arrange the chicken fingers on a baking tray
- Bake for about 8 minutes. Let it cool for a crispier exterior.


